
If your bank feed dropped, only pulls the last ninety days, or simply is not connected yet, you can still get your transactions into QuickBooks Online by uploading a CSV file directly. This is one thing QuickBooks Online can do that QuickBooks Desktop cannot — Desktop requires a QBO, QFX, or OFX file for any bank import, but Online accepts a properly formatted CSV on its own. Worth knowing before you start, because a lot of guides do not separate the two products clearly and readers end up following steps that were never meant for their version.
This walkthrough covers the exact column format QuickBooks Online expects, the upload steps, the errors that trip people up most, and how to avoid ending up with duplicate transactions afterward.
Before You Start: The CSV Format QuickBooks Online Actually Needs
QuickBooks Online accepts a CSV in one of two column layouts:
- 3-column format: Date, Description, Amount
- 4-column format: Date, Description, Credit, Debit
Pick one layout and stick to it — do not mix a single Amount column with separate Credit and Debit columns in the same file. A few other requirements matter more than people expect:
- File size stays under roughly 350 KB, which works out to somewhere around 1,000–1,500 transactions depending on how long your description text runs. Larger files need to be split by date range before uploading.
- No currency symbols, commas, or special characters like
$,#, or&inside the Amount column. QuickBooks reads these as broken numbers, not currency values. - Dates need a consistent format throughout the file. Mixed formats — some rows as MM/DD/YYYY, others as DD/MM/YYYY — are one of the most common causes of a failed import.
- Amounts over 11 digits will not import automatically and need to be entered manually afterward.
If your bank's CSV export does not naturally follow one of these two layouts, open it in a spreadsheet first and clean it up before uploading. This step alone prevents most of the failed-import headaches described below.
Step-by-Step: Importing the CSV
- Download your transactions as CSV from your bank. Look for "Export," "Download," or "Statements" on your bank's transaction history page, and choose CSV if it is offered as an option.
- Open the file and check the columns. Confirm it matches either the 3-column or 4-column layout above. Rename headers if needed so they clearly read as Date, Description, and Amount (or Credit/Debit).
- Log in to QuickBooks Online and go to Transactions, then Banking. Select the bank or credit card account you are importing into — if the account is not listed yet, add it first.
- Choose Upload from file (or Link account, then Upload from file if the account is not yet connected). Browse to your CSV and select it.
- Map your columns. QuickBooks reads the first few rows of the file and shows you its header fields next to a dropdown for each. Match Date, Description, and Amount (or Credit/Debit) to the correct columns.
- Review the preview table. Check that dates, amounts, and descriptions look correct before continuing — this is your last chance to catch a mapping mistake without undoing anything.
- Confirm the import. Transactions land in the For Review tab of that account, where you categorize and accept each one before it posts to your books.
Fixing the Most Common Import Errors
"We can't upload this CSV file because some of the columns aren't mapped correctly." This usually means your file has more than four columns, or extra blank columns are hiding at the end of the sheet. Open the file, delete anything beyond your Date, Description, and Amount (or Credit/Debit) columns, and re-save before trying again.
Amounts import as text instead of numbers. Almost always caused by a currency symbol or thousands-separator comma sitting inside the Amount column. Strip those characters out in your spreadsheet first — QuickBooks needs plain numbers, with a minus sign for debits if you are using the single-Amount format.
Dates import in the wrong order (day and month swapped). QuickBooks infers the date format from your file, and it can guess wrong if your dates are ambiguous, like 03/04/2026. Where possible, standardize to a format QuickBooks recognizes for your locale, or spell out the month to remove any doubt.
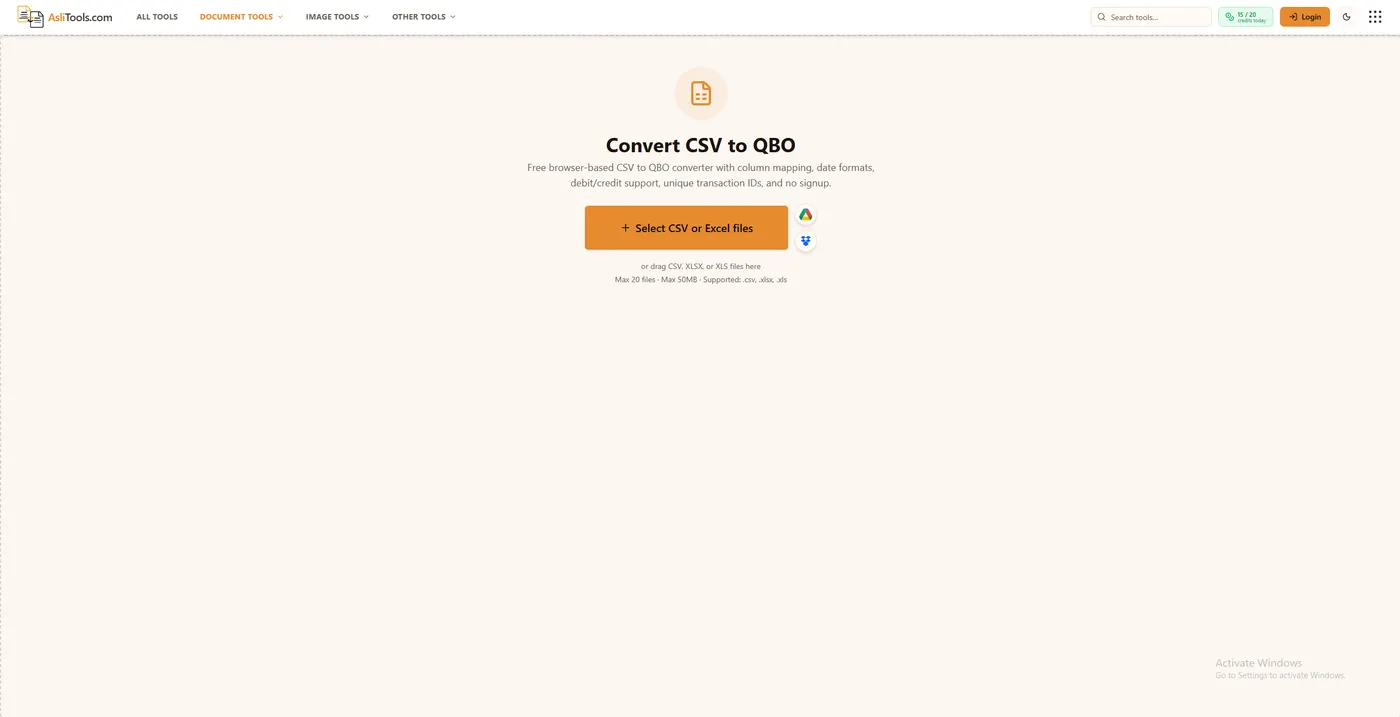
Your bank's CSV export simply will not fit 3 or 4 columns. Some banks export ten or more columns of transaction metadata with no clean way to trim it down without breaking the data. In that case, converting the file to QBO format instead of forcing it into CSV often solves the problem in one step, since QBO carries transaction data in a structure Web Connect expects without column mapping. A CSV to QBO converter handles that conversion in the browser, and it also works for QuickBooks Desktop, which cannot take CSV at all.
Avoiding Duplicate Transactions
The most common mistake after a successful import is not a formatting error — it is doubled transactions. If your bank account is already connected to QuickBooks Online through a live feed, and you upload a CSV covering a date range the feed already pulled in, every transaction in that overlap shows up twice.
Before you upload:
- Open the For Review tab and check what date range is already sitting there.
- Check the account register for the most recent posted transaction date.
- Trim your CSV to start the day after that date, so there is no overlap with what the live feed already captured.
After you upload, compare the total of debits and credits in QuickBooks against the total on your original bank statement. A mismatch usually means either a missed row during cleanup or an accidental duplicate, and it is far easier to catch immediately than three months later during reconciliation.
When to Use QBO Instead of CSV
CSV import is the flexible fallback, but it is not always the smoothest path. If your bank offers a direct QBO or QFX download, that format usually imports with no column mapping at all, since it already carries the exact fields QuickBooks expects — including a unique transaction ID that helps QuickBooks itself catch duplicates automatically. Save CSV for the times your bank does not offer that option, or when a live bank feed has failed and you need to backfill a specific gap manually. If you have an OFX file from your bank instead of a QBO, an OFX to QBO converter will get it into the right format first.
If your bank's CSV will not map cleanly into QuickBooks Online, convert it to QuickBooks Web Connect format instead with the CSV to QBO Converter — free, browser-based, and works for both QuickBooks Online and Desktop.
Related tools on Asli Tools: CSV to QBO, OFX to QBO, QBO to CSV, QFX to CSV, and IIF to CSV.